Follow this step by step tutorial to create a beautifully customized DIY farmhouse wreath for your front or interior door.
Who doesn’t want those beautiful wreaths we see adorning the doors of our favorite shops or farmhouse? Such embellishments can often be pricey and the custom look you yearn for, hard to find. In this tutorial you can make your very own DIY farmhouse wreath to proudly greet your guests. Making your own wreath will result in a much lower price point, completely customized charm and of course, FUN!
First, we need to gather our materials. All the options I use are customize-able for your needs. I wanted a simple wreath for summer and therefore used only greenery and white flowers. Here is a list of items I used to create this wreath:
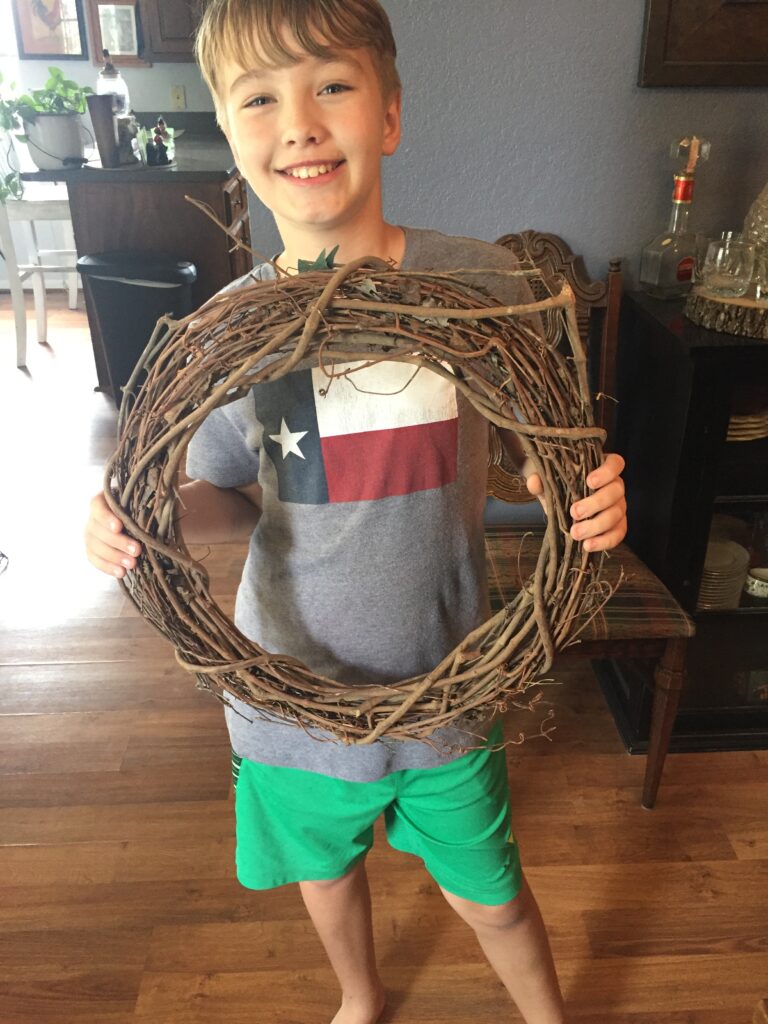
- simple grapevine wreath~ I used a 14 inch diameter (as seen with my rowdy ranch hand helper above)
- floral twine~ I like a twine that looks like grapevine to hide my fastenings, but green floral wire would also work for this
- green floral wire
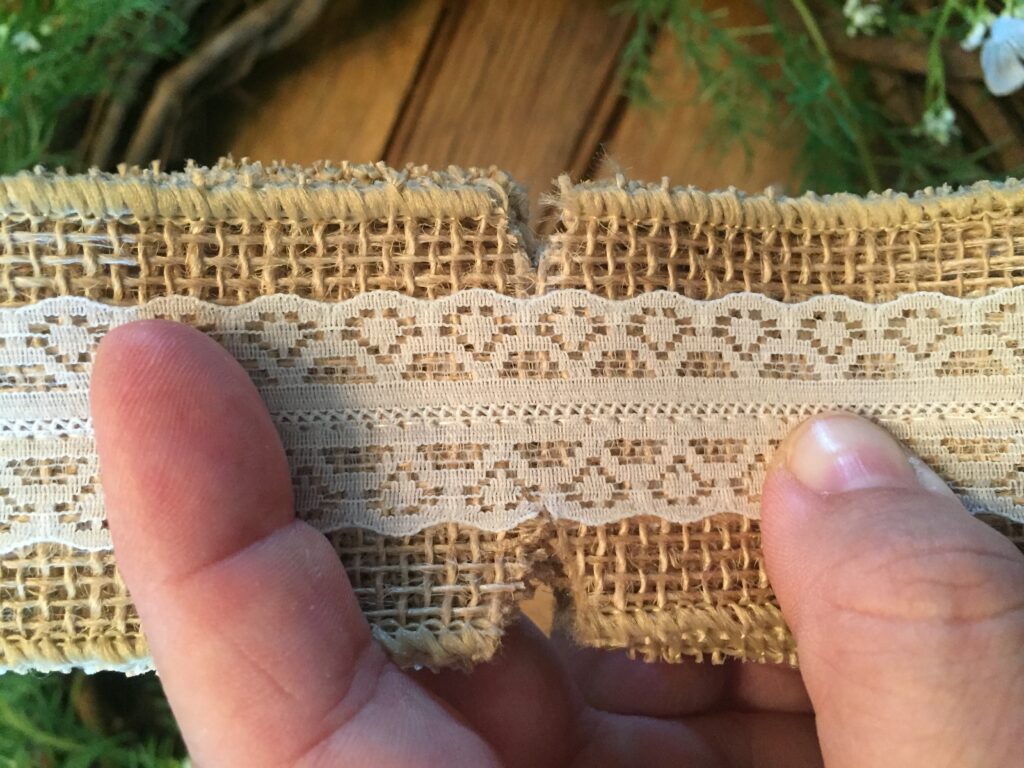
- ribbon in your choice of pattern~ I wanted burlap and lace for that sweet farmhouse style
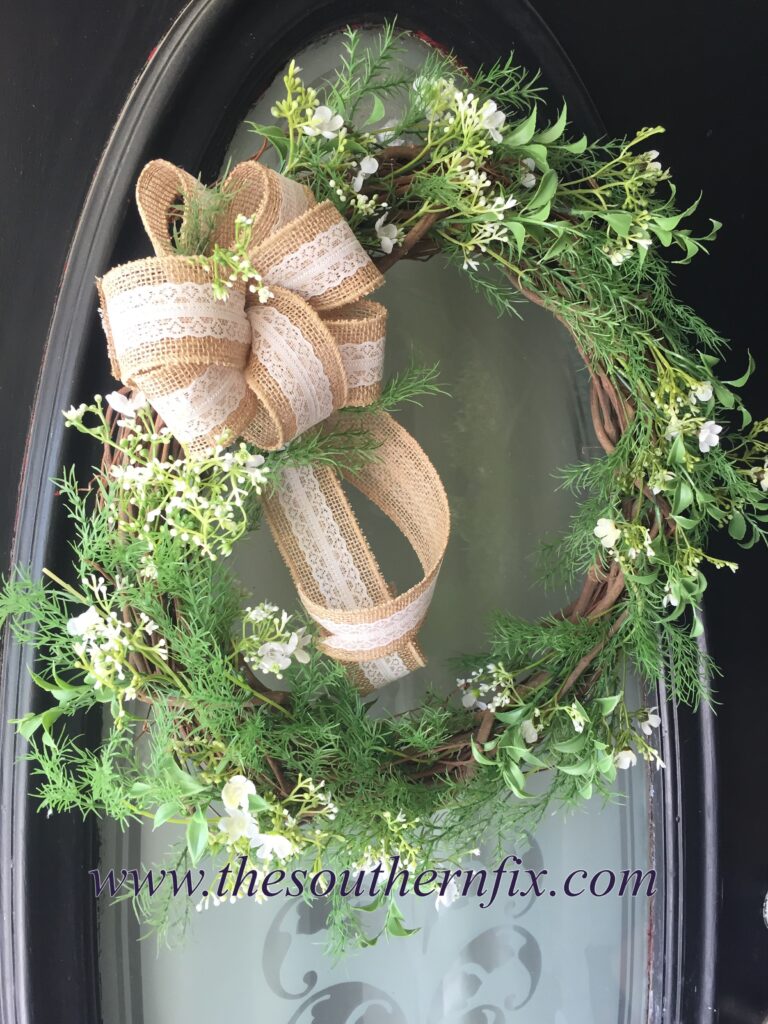
- floral in your choice~ as mentioned above, I wanted simplicity for summer so I only used greenery and little white flowers (I’m no florist, I have no idea what they actually are supposed to be, I just get what looks pretty)
- hot glue gun and glue sticks
- scissors
Alright, let’s get this show on the road y’all!
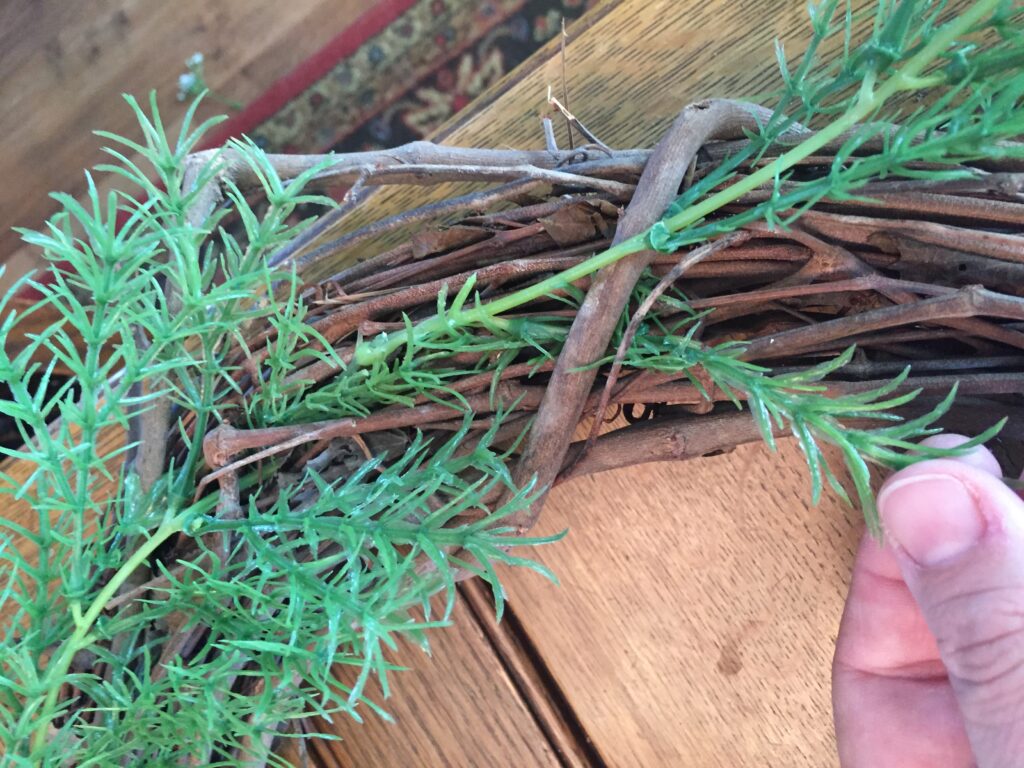
First and foremost, plug in the hot glue gun. Sometimes, I get so excited to start and when I need the glue, realize I forgot to actually plug the dang thing in to heat up. I start with the grapevine wreath and place the base foliage, or greenery all the way around the wreath. We live on a super windy ranch and even though we have a covered porch, the wind can wreak havoc on my wreaths. For this reason, I always tuck pieces of the foliage under the grapevine AND hot glue in place for extra security. You can add a lot of greenery for a full look. I was going for more of a simple look on this wreath and wanted to show the grapevine. For this reason, I used just enough to add baseline color.
An important step to remember is to ensure all your greenery is moving in the same direction around the wreath so as to not look chaotic. Notice how I place the stems in a clockwise fashion.
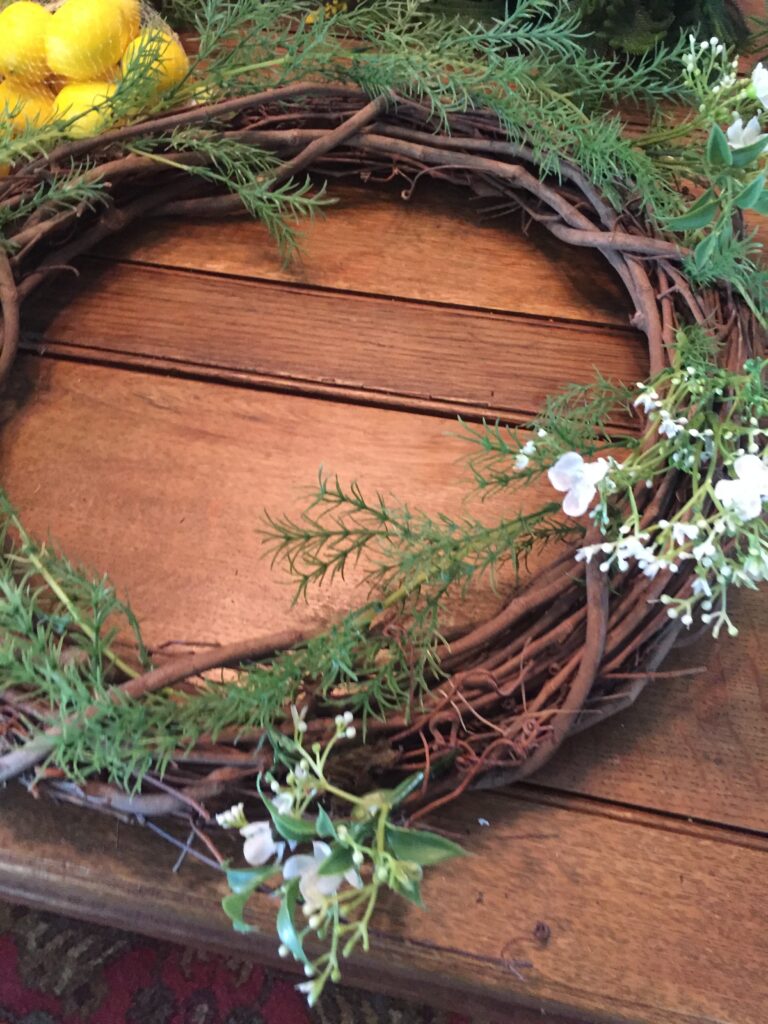
Next, start to add your first layer of floral. I only used one color on this wreath. If you are using multiple colors, start with just one. Place the first color in small bunches, again moving in the same direction but leaving space in between each bunch.
Continue around the wreath adding additional color and greenery with your hot glue gun until you achieve a full look. Once you have come full circle, you will want to go back in with smaller, individual stems of alternating color and greenery to achieve a blended look. I did this with just the greenery and white flowers. I don’t always hot glue these filler stems in, but instead sometimes just stick them under other stems or the grapevine itself. Be sure to also add stems to the inside and outside aspects of the wreath- not just on top. This makes your wreath look fuller and have more dimension.
It’s all about the embellishments for your DIY Farmhouse Wreath! Bows, trinkets and more…
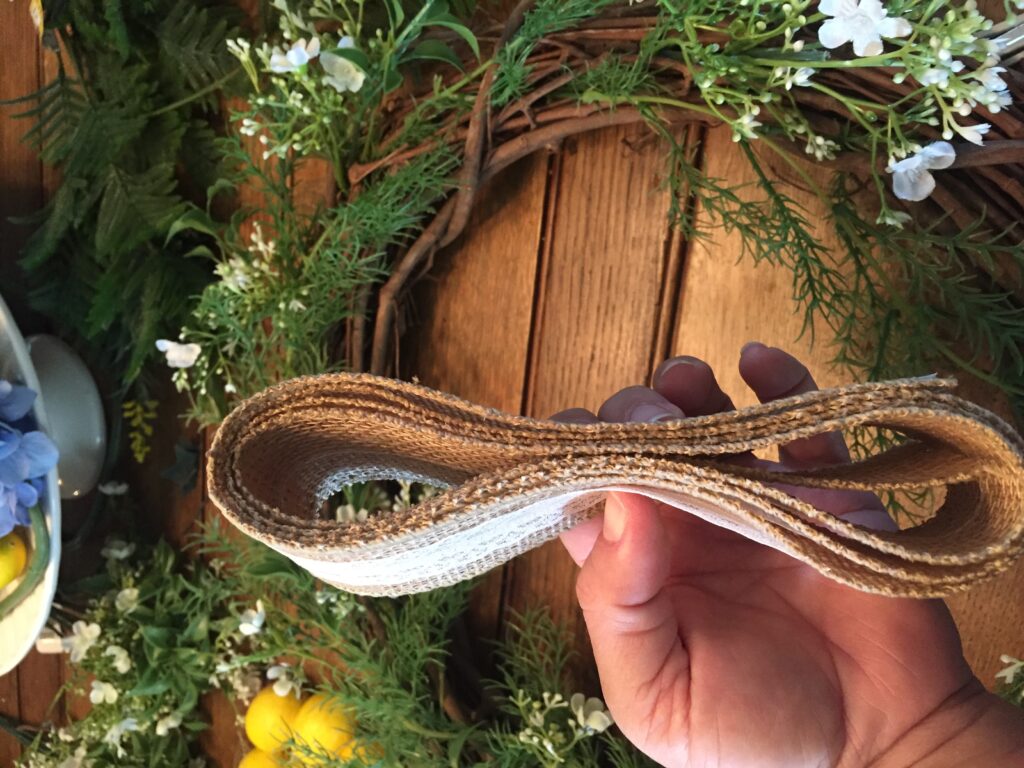
I originally thought I was going to add the lemons you see in previous pictures, but ended up liking the wreath with just a bow. Pre-made bows can be super expensive, but I have no idea why. They are super easy to make. So here I will teach you how to make awesome bows you can use ANYWHERE! I actually learned how to make this type of bow when I was in college (Go BEARS) working at a dog groomer! First, you will take a super long stretch of your ribbon and fold over continuously like the picture. Note that however big your wrap is from end to end will be the width of the finished bow, and how many wraps around you make will be the fullness.
~Finishing up your DIY Farmhouse Wreath with a Custom BOW~
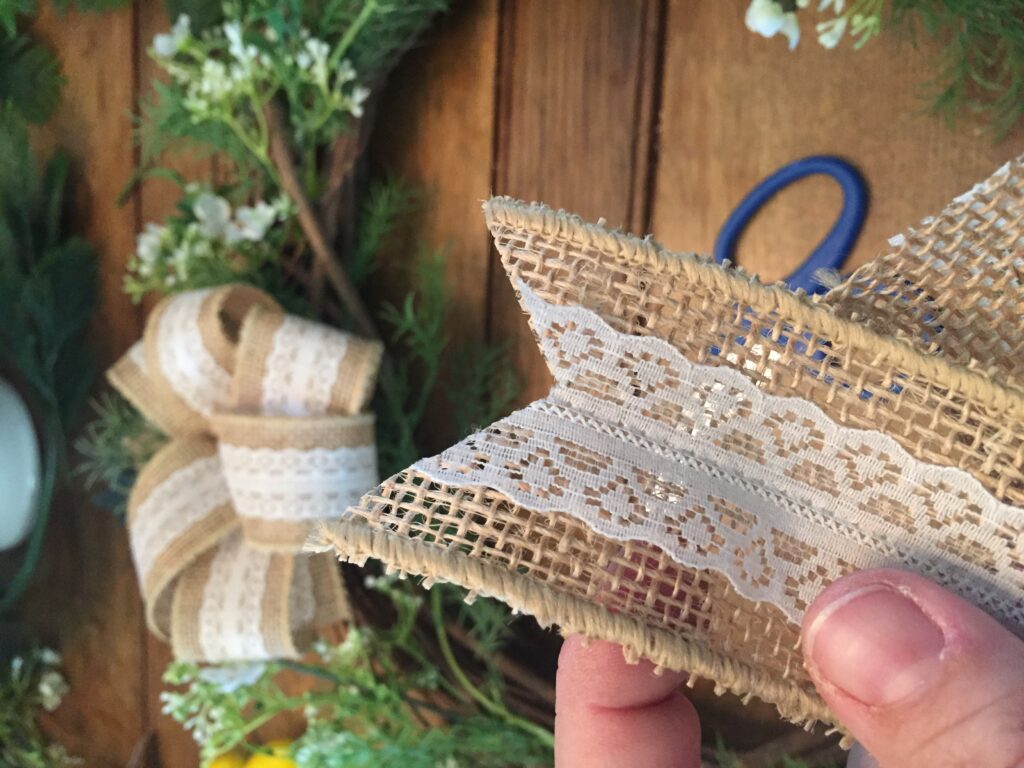
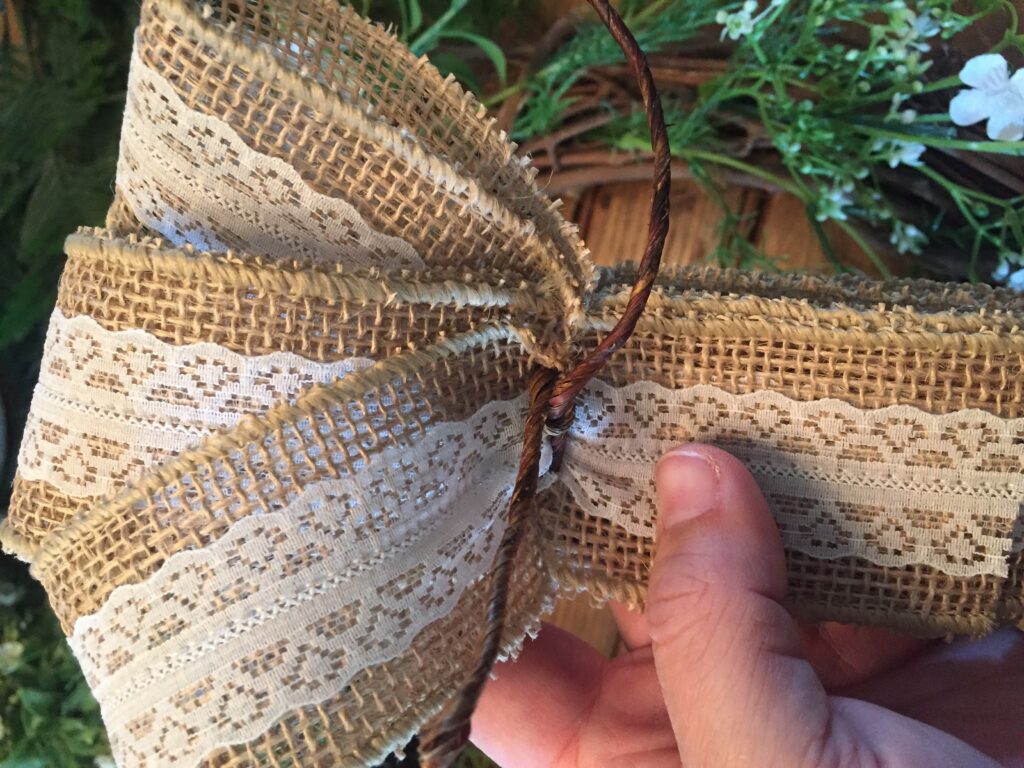
After you finish wrapping, hold the bow in one hand and using scissors with your other hand, cut small “V” notches on either side as seen in the above picture. Using a piece of green floral wire, wrap the center of the bow tightly. Be sure to leave extra long tails of the wire so you have extra to affix the bow to your wreath . I used the grapevine twine. Don’t worry, you won’t see this piece. So if all you have is bright pink wire or fishing line; it will all work to fasten it.
If you want your bow to have long tails, take a long piece of your ribbon and wrap around the center twine tying a knot in the back. Allow the tails to hang behind the bow. I always cut a wide ‘V’ on the bottom of my tails to give a finished look. (See the above pic for an example)
Now to fluff the bow, Pulling from the INSIDE, you will pull one loop out to the side and twist once, and then go to the other inside loop. Repeat pulling and twisting out each loop until you have the full bow. The twist at the end of each pull helps set the bow in place because of the ‘V’ notches we cut in an earlier step.
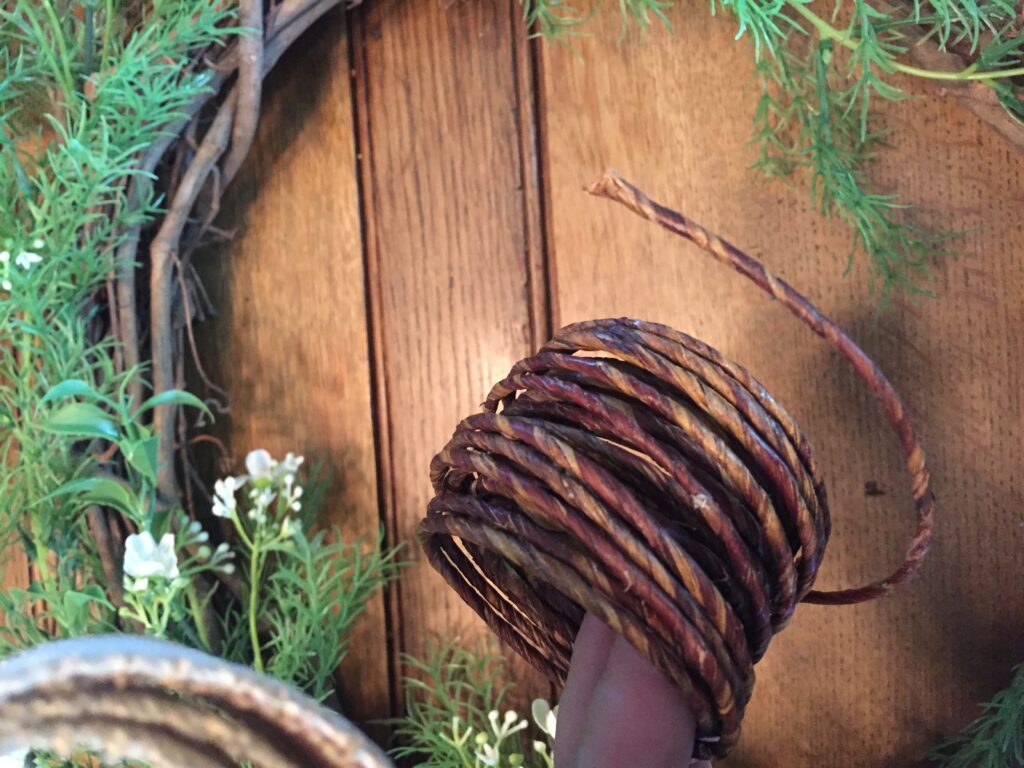
Now you need to place your bow on your wreath using the long pieces of wire you have on the back. Place the bow wherever you like, fluffing the bow back to beautiful after it is in place. I used the grapevine twine show here to add a long hanging loop to use to hang on my front door hook. My wreath was finished at this step; however, if you have fruit or bells or other embellishments, now that you have your bow placed, you can hot glue these pieces into place. Just remember the rule of three and add in bunches leaving space between.
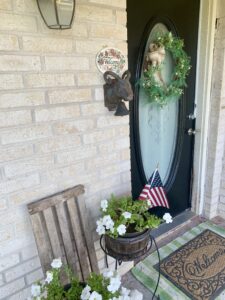
Here is the before and after of our front porch door….Next, I will paint a black and white pattern on the porch floor! Stay Tuned for our NEXT, Southern Fix! Show us your wreath creations in the comments!